Paper Snowflake
Surprise
Today's Snack: Here are two things you might not have put together
before: snowflakes, and bologna! But anything's possible in this world, so
let's make a bologna snowflake.
Just
gently fold a circle of bologna in half - don't tear it! - and then fold that
half-circle into thirds. You should have a fat triangle. Be as careful as you
can not to tear any of the edges!
Now
take a tiny bite out of the tip, and bite or cut little slices all along the
two sides and the bottom. The more bologna you bite or cut away, the more "air"
there will be in your bologna snowflake.
OK,
now open it up - and imagine what a snowy day would be like if THESE things
came piling out of the sky! Pile your bologna snowflake onto two slices of
bread, add a little mayo or mustard, and let it MELT . . . in your mouth.
--------------------
Here's a fun surprise for your teacher's lounge, a
parent's office, the front doors of your school, your classroom walls, a
nursing home near you . . . any place that could use a fun little lift during
the winter doldrums.
Give everyone a pair of scissors, and as many
squares of white paper as you have time to fold and cut into winter's favorite
symbol: snowflakes!
An adult can help you cut paper with a paper-cutter,
so if you have standard 8˝" x 11" typing paper, you can cut off 2˝" strips from
the long side to produce an 8˝" square fairly easily. Keep the 2 ˝" strips for
some other purpose.
You could cut a quantity of other sizes of squares
if you want variety in the size of snowflakes for your surprise.
Snowflakes need to be six-sided, and each side needs
to be identical. Eek! How to do that? Easy: before you cut, fold your paper in
this special way to end up with six identical parts for your snowflake:
Take your square of paper, and fold it into a
triangle. Press down firmly on the folded edge; it needs to be sharp.
Now fold that triangle in half, producing a smaller
triangle. Again, make sure the edges are crisp and lined up as straight as you
can.
Now, with the tip of the triangle pointing away from
you, fold over the left-hand edge just past the centerpoint, and press down
hard along the edge to make it a crisp fold.
Then fold the right-hand edge over the edge you just
folded, so that it looks like an arrowhead.
Cut the bottom into a rounded shape - you don't want
your snowflake to end up square. Who's ever seen a square snowflake? (Don't
answer that - they're probably out there!)
Now you can cut a circle or a V or some other shape
out of the very tip of your snowflake. Cut skinny lines, curves and
half-circles all along the two edges, and the rounded bottom. The deeper in to
the middle of the fat arrowhead, and the more paper you remove with your cuts,
the more "air" there will be in your finished snowflake, and the prettier and
more realistic it will appear.
Now carefully - CAREFULLY!!! - unfold your
snowflake. Pretty, huh?
If you wish, you can lightly spread glue over the
surface with a foam brush, and sprinkle white glitter on top. Let try. The
glitter will make it sparkle like a crystal and make it seem more realistic.
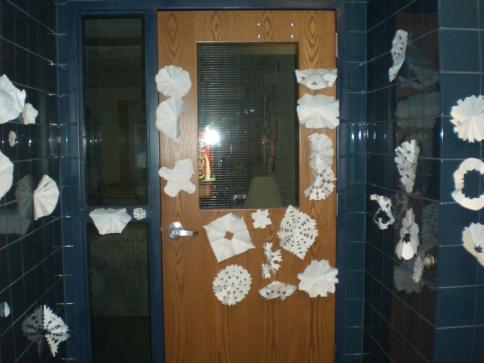
As soon as you have a large quantity of snowflakes -
remember, they come in big groups!!! - go with some painter's tape or masking
tape and put them up around a door or window where people will be sure to see
your surprise "snowstorm."